How To Fix Scratched Leather (Guide)
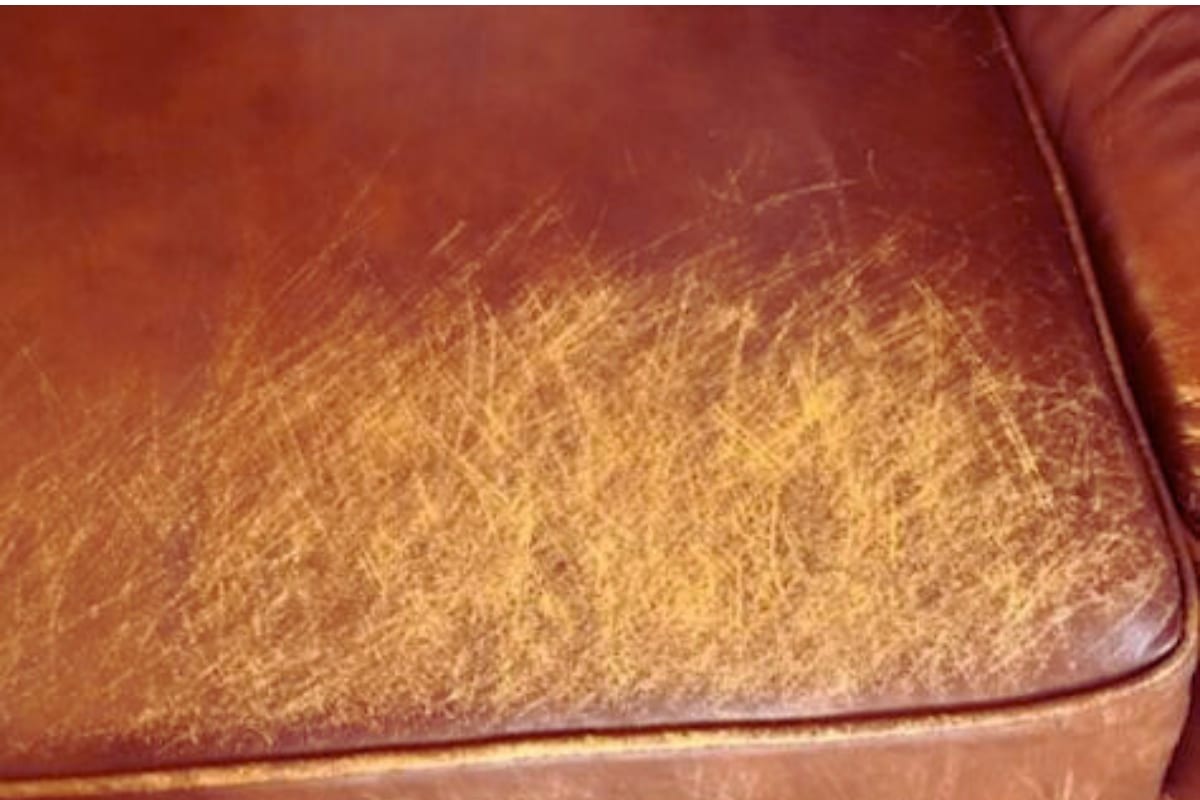
How to fix scratched leather. Leather, a lavish and durable texture, is frequently used in the making of distinctive things, such as furniture, clothing, packs, and adornments. Despite its durability, leather isn’t impenetrable to scratches, and over time, even the most well-maintained leather can create marks and imperfections. Fortunately, settling scratched calfskin may be a sensible task with the right knowledge and tools. In this comprehensive guide, we’ll explore different techniques to restore scratched leather to its past glory.
How to fix scratched leather

Understanding Leather Types
Before delving into the repair handle, it’s important to get the sort of leather you’re working with. Leather comes in different grades and wraps up, counting full-grain, top-grain, and bonded leather. Each type requires different care and repair strategies. Full-grain leather, for example, is stronger and may react differently to medicines compared to bonded leather.
Basic Tools and Materials
- Soft Cloths: Select gentle, lint-free towels to prevent additional harm to the leather.
- Leather Cleaner: To get rid of filth and debris, use a gentle leather cleanser with a pH balance.
- Leather Conditioner: The natural oils in leather can be restored and moisturized with the aid of a premium leather conditioner.
- Rubbing Alcohol: Efficient in sanitizing and cleansing the area that was scraped.
- Water and Mild Soap Solution: For cleaning, particularly leathers that are aniline or semi-aniline.
- Fine Grit Sandpaper or Emery Cloth: For minor scratches, use extremely fine sandpaper (800–1000 grit).
- Leather Repair Kit: These commercially available kits frequently include with a range of tools and compounds to fix scratches.
- Leather Dye: For a flawless restoration, matching leather dye is required if the scratch has erased color.
- Soft Bristle Brush or Toothbrush: Useful for cleaning and lightly scouring leather.
- Microfiber Sponge or Applicator: For uniformly applying color, conditioner, or cleaning.
Step-by-Step Repair Process
Clean the Leather
Start by cleaning the leather altogether to expel any surface earth or debris. Use a delicate cloth or a delicate bristle brush with a gentle leather cleaner. For aniline or semi-aniline leathers, a water-and-mellow cleanser arrangement can be connected. Ensure the leather is totally dry before moving on to the next step.
Assess the Damage
Examine the scratches carefully to determine their profundity. Light surface scratches may require more diverse treatment compared to deep cuts or gouges. This evaluation will guide your approach to the repair process.
Light Surface Scratches
For light scratches, tenderly rub the scratched area with a delicate cloth and a little amount of leather conditioner. This may offer assistance in diminishing the appearance of minor surface marks. If the scratch is still visible, consider using exceptionally fine-grit sandpaper or emery cloth to delicately sand the region. Be cautious not to harm the leather further.
Deep Scratches and Gouges
If the scratches are deeper, a calfskin repair unit can be employed. These packs regularly include compounds that fill in the scratches and can be colored to match the leather. Follow the kit instructions carefully, as the method may include applying different layers and allowing each layer to dry before proceeding.
Color Matching
If the scratches have expelled color from the calfskin, use a matching leather color to reestablish the color. Apply the color with a microfiber wipe or applicator, taking after the item information. Allow the color to dry completely before applying any extra layers or treatments.
Condition the Leather
After completing the repair process, apply a liberal amount of calfskin conditioner to the entire thing. Conditioning helps reestablish the leather’s natural oils, keeping it supple and avoiding future damage.
Additional Tips and Considerations

- Test in an Inconspicuous Area: Before applying any cleaning or repair item, test it in a small, subtle area to ensure compatibility with the leather.
- Professional Help: If the leather harm is broad or if you’re uncertain around the repair handle, consider looking for proficient help from a calfskin restoration expert.
- Preventive Measures: To minimize future scratches, avoid placing leather things in high-traffic zones and use defensive measures such as coasters or mats.
- Regular Maintenance: Leather goods should be cleaned and condition on a regular basis to extend their lifespan and stop scratches from building up.
- Avoid Harsh Chemicals: Avoid using abrasive cleansers, solvents, or harsh chemicals on leather as they may do more harm than good.
Conclusion
Leather scratches can be difficult to repair; it may take time and careful attention to detail. You may give your leather goods a contemporary look by being aware of the type of leather you’re working with and performing the necessary actions. Keep in mind that regular upkeep and preventive treatment are necessary to preserve the beauty and toughness of leather throughout time.